Cabinetry. Buy it for looks, but it for life. No, wait….that’s sinks. Or is it faucets? Well, regardless, purchasing cabinetry is always going to be a big-ticket/lifer item! So when I say we were pretty thorough in our search, I’m not lying! It took us 9 months of hoofing it around town to decide on what we wanted and I’m here to spill the beans on the whole thing! Hang tight, I’ll try to keep the search to a paragraph!
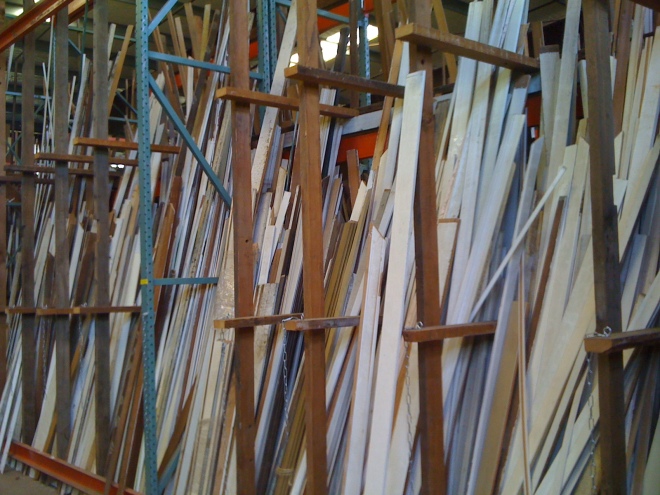
We started at the traditional “reno on a budget” locale of Ikea, thought it too expensive, so settled on Home Depot/Lowe’s. After price checking and budgeting there, we realized that wasn’t such a good deal either (and for lower quality laminated stock cabinetry to boot!). So we thought we’d try the eco-friendly route of recycling cabinetry either via Craigslist, the local Habitat for Humanity ReStore, and the ever popular ReBuilding Center on Mississippi Avenue here in Portland. While we weren’t able to find much in the way of cabinetry that was affordable, suitable, and/or repairable, I did have to hold Dr. J back from a few fun finds pictured below (and these are iPhone pics, so probably not the best quality overall):
As much as we didn’t want to have to spend the kind of money that our initial run-through at Ikea had us paying, we reluctantly decided to give it another shot and see if we were wrong before. And, boy, were we wrong! We designed an entire laundry space, including cabinetry, sink, and counters for a fraction of the price that we would pay at Lowe’s, Home Depot, and even some of our recycled options! Here’s a little breakdown of how much this was going to cost us at each place:
- Home Depot/Lowe’s was going to run us around $1500 for cabinets ($900), plumbing/electrical ($300), counters ($200), and any other incidentals we may have missed. Home Depot/Lowe’s, we heart you, but your stock cabinetry wasn’t as pretty as Ikea’s (or as tall!).
- Recycling cabinetry was somewhat of a mystery, but it was going to be a cool $600 for cabinets, but then we’d have to refinish, repair, and paint those cabinets, so we figured that was going to put us back around $700 and that was before plumbing, counters, and incidentals. Recycling, we heart you, but you were too spendy!
- Ikea was going to be roughly $700 (including cabinets, counters, sink, hardware, and no painting required!). Ikea, we heart you and your clean new cabinetry that’s 39″ tall with no sanding, painting, and/or cleaning required! SOLD!
Sometimes it’s good to be wrong! Record this date for posterity as you’ll never hear that from us again… 😉
Ikea’s in-house computer kitchen designer (which is good for any space, including a laundry) couldn’t be simpler though I admit it’s a lot less confusing when you are in the store than when you are at home, but maybe that’s the point. You can set up your room with all of your dimensions, including height, add your appliances (washer and dryer? Check!), throw up some cabinetry, insert some sinks, and voila! You then print out all of your needs on a few sheets of paper that you then turn into the associate who orders it and then you pick it up downstairs on your way past the Swedish meatballs and fish. Easy peasy!
We took some advice from the Ikea sales person, Ellen (super friendly, btw!), and decided to split up our installation into phases.
- Phase one would be assembling and installing upper cabinetry
- Phase two will be plumbing and electrical (we need plumbing for a sink, outlets for under-cabinetry lighting and a switch, and an additional overhead light)
- Phase three will be purchasing and installing our new flooring (anybody have a pair of knee pads I can borrow?)
- And the final phase would be installing the floor cabinetry, counters, sink, finishing touches, accessorizing, etc.
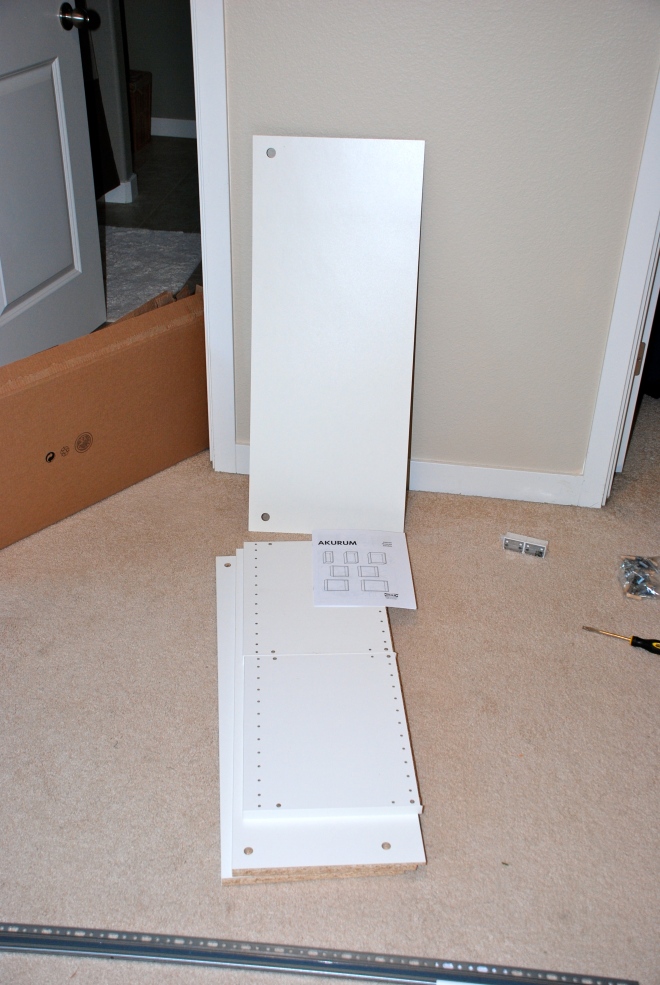
So today’s venture is only upper cabinetry, but it was so simple to install, we can’t wait to buy the rest of the material from Ikea so we can finish the job! Total time from unpacking the boxes to hanging? About 4 hours – and I only helped with the hanging! Fancy that! It’s amazing how something like this:
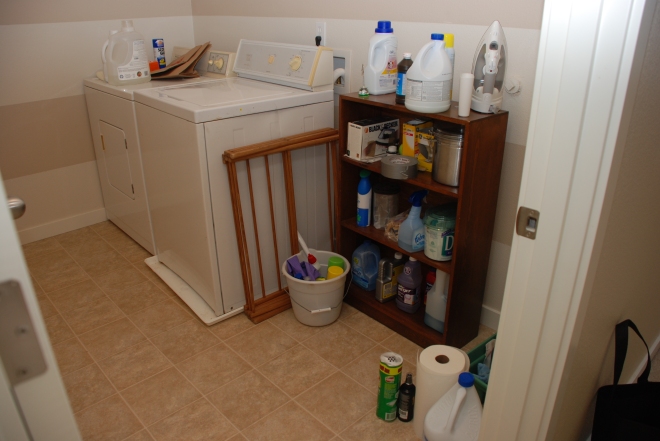
….can transform into something like this:
….and that, my friends, is the beauty of Ikea! Actually, let’s take a moment to analyze the photo above (where we “air our dirty laundry”, so to speak). First off, can you tell how “cluttered” the floor of our laundry room is by this picture? Dee-sgus-ting! Actually, here’s a closer pic to show you our problem child in all its grody glory:
You can also get a better feel for how large our upstairs “hallway” is and why we want to switch out all of it for cork! It will bring so much warmth, polish and cohesion to this space and we cannot wait! It will also bring some much-needed texture to this space, which is a little tan on tan at the moment.
From this point on, the pictures are a little hairy – we have terrible light going on in this room, so we were really just working off of our flash, which just blows out all of our pics. All apologies:
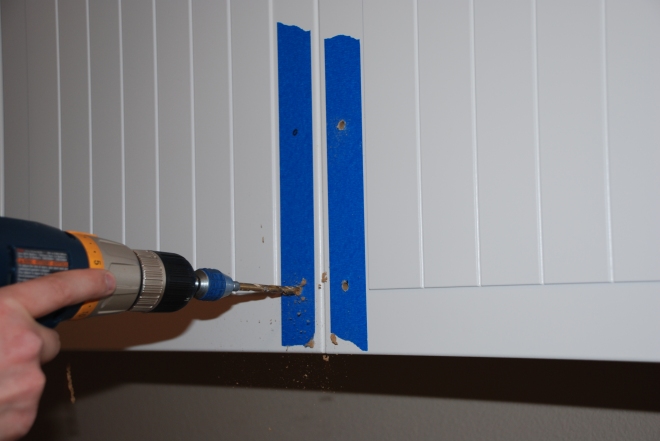
And that’s basically it! Oh, and in case you’re curious why we put painter’s tape up on these cabinets, this is an important tip whenever you are drilling into anything that has to look pretty from the outside. If you tape it, it will protect the wood from chips and breaks. It’s also easier to measure and mark – you don’t have to worry about cleaning it off later!
The installation of the upper cabinets is done and we were even able to score ourselves some of those fancy schmancy “quiet close” cabinet hinges so we won’t wake up whenever somebody slams the doors shut. That’s pretty useful since the laundry room wall backs up to our master bedroom – good for the future.
Sit tight for the big reveal – we’ve already moved onto electrical and our upstairs is a veritable war zone of cut up drywall, power tools, and dust!
Want to see Chapter 1 where we formulated a plan, then click here! Stay tuned for more!


